OBS Studio is a free, open-source tool for video recording and live streaming, offering powerful features for creators of all levels.
This article will provide a detailed overview of OBS Studio download, its features, setup, and how to get the most out of the software.
What is OBS Studio?
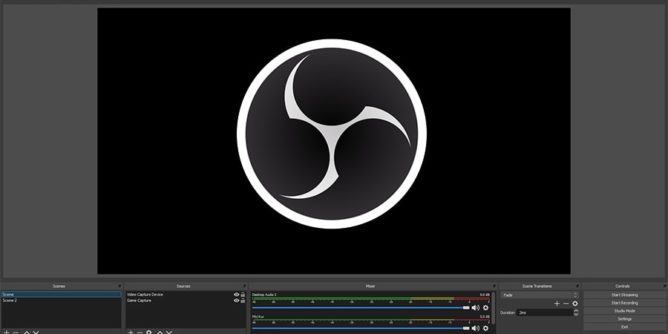
It’s designed for content creators who want to produce high-quality streams or record their screen with minimal technical barriers. Available for Windows, macOS, and Linux, OBS Studio allows users to create and configure scenes, switch between different video sources, apply filters and effects, and stream to their preferred platform in real time.
Unlike many professional streaming and recording software solutions, OBS Studio is completely free and doesn’t have hidden fees or subscriptions. As an open-source project, it’s maintained and developed by a community of contributors, ensuring regular updates, features, and a wealth of community-driven resources.
Key Features of OBS Studio:
Before downloading OBS Studio, it’s helpful to know what makes this software stand out in a crowded field of alternatives. Here are some of its most notable features:
Also Read: What Kind Of Software Is Reflector 4 – A Detailed Guide!
High-Quality Video and Audio Capture:
OBS Studio allows you to capture high-definition video and audio with minimal latency. You can record at resolutions up to 4K and stream at high frame rates, making it an excellent choice for gamers, streamers, and content creators who require crisp, smooth video.
Multiple Video Sources and Scenes:
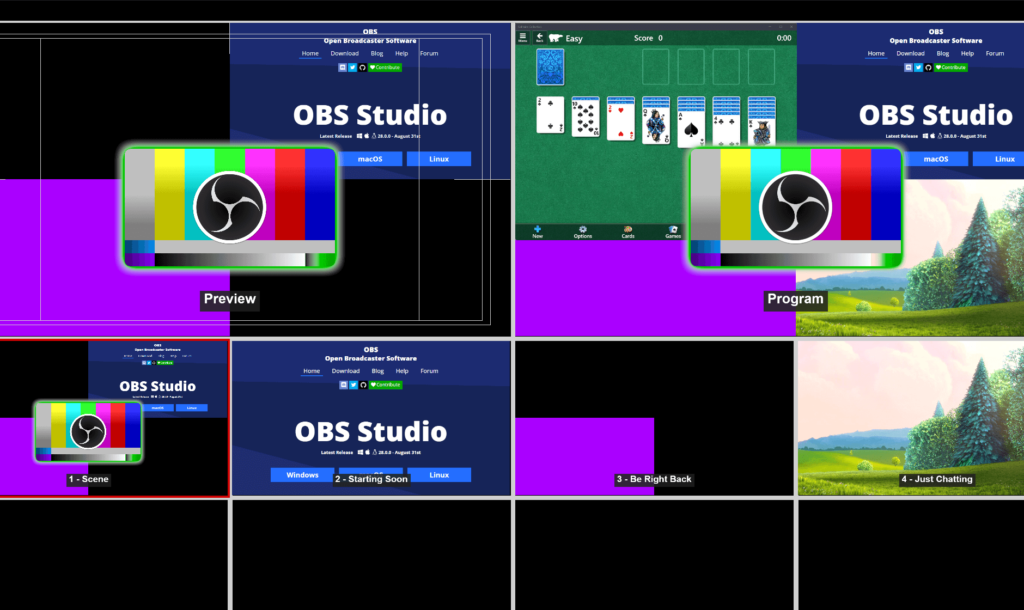
You can create multiple scenes, each containing different video sources (e.g., webcam, display capture, browser window, game window), and switch between them effortlessly during a live stream or recording. This gives you the flexibility to switch between different angles or media sources in real-time.
Customizable Transitions and Filters:
OBS Studio lets you add transitions between scenes, such as fades, cuts, or slides. You can also apply filters to your video sources to enhance the appearance of your stream or recording. Filters include chroma key (green screen effect), color correction, and sharpening, among others.
Audio Mixing and Control:
OBS Studio has an integrated audio mixer with a wide range of controls for adjusting the sound levels of different audio sources. Whether you’re recording from a microphone, capturing desktop audio, or mixing in music, you can easily adjust each source’s volume, apply noise suppression, or even add audio filters to improve sound quality.
Streaming and Recording to Multiple Platforms:
You can easily connect OBS Studio to a wide range of streaming platforms, such as Twitch, YouTube Live, Facebook Live, and more. Setting up the stream is simple, as OBS Studio provides preset configurations for each platform. You can also stream to multiple platforms at once with the use of additional plugins.
Scene Transitions and Hotkeys:
With OBS Studio, you can assign hotkeys to different actions, such as starting or stopping streams, switching scenes, or muting audio. This makes it easier to control the software without needing to click through menus during live streaming sessions.
Plugin Support and Customization:
As an open-source project, OBS Studio supports a wide range of plugins and extensions, allowing users to customize their experience and add additional features. These plugins can include things like chat overlays, donation alerts, and advanced streaming options that enhance the software’s functionality.
Recording without Streaming:
For content creators who want to record tutorials, gameplay, or other types of videos without live streaming, OBS Studio makes this easy. You can record your screen or specific applications while adjusting settings like frame rate and resolution to get the best recording quality.
How to Download OBS Studio:
Downloading OBS Studio is a straightforward process. Here’s how you can get started:
Visit the Official OBS Studio Website
To ensure you’re downloading the latest and safest version of the software, always use the official OBS Studio website. Visit https://obsproject.com/ to download the software for your operating system.
Choose Your Operating System
On the OBS Studio homepage, you’ll see options for Windows, macOS, and Linux. Select the correct version for your operating system. OBS Studio is fully compatible with all three platforms.
Click the Download Button
Once you’ve selected your operating system, click on the “Download” button. The website will automatically begin downloading the appropriate installer for your system.
Install OBS Studio:
After the installer has downloaded, locate the file and run the installer. Follow the on-screen instructions to install OBS Studio on your computer. The process is quick and should take no more than a few minutes.
For Windows, you’ll need to accept the installation prompt and choose the installation location. On macOS, drag OBS Studio to your Applications folder. For Linux, follow the installation instructions for your specific distribution.
Launch OBS Studio:
Once the installation is complete, you can launch OBS Studio. On Windows and macOS, you can find it in your start menu or applications folder. Linux users can launch the program from their terminal or application menu, depending on their distribution.
Setting Up OBS Studio for the First Time:
After downloading and installing OBS Studio, the next step is setting it up for your first stream or recording session. Here’s a step-by-step guide to get you started:
Also Read: What Software Do Financial Advisors Use To Watch Stock Market – A Deep Dive!
Run the Auto-Configuration Wizard:
The first time you launch OBS Studio, you will be prompted to run the Auto-Configuration Wizard. This tool helps OBS optimize the software for your system and network speed, ensuring the best possible performance for your streams or recordings.
- Select the “Optimize for Streaming” option if you plan to stream live, or “Optimize for Recording” if you’re primarily using OBS for video recording.
- OBS will automatically detect your system specifications and provide the best settings for your needs. You can adjust these settings later if necessary.
Set Up Your Video and Audio Sources:
- Add Video Sources: In OBS, a “scene” is a collection of video and audio sources. You can create multiple scenes to switch between different video sources. To add a video source, click the “+” button under the “Sources” section and select from options like “Display Capture” (for screen recording), “Window Capture” (for capturing specific programs), or “Video Capture Device” (for webcam or external camera).
- Set Up Audio Sources: Similarly, you can add audio sources by clicking the “+” button under the “Audio Mixer” section. OBS will automatically detect your microphone and desktop audio, but you may need to adjust the volume levels or add filters for optimal sound quality.
Configure Your Stream Settings:
- Choose a Streaming Platform: OBS Studio supports a variety of streaming platforms. In the “Settings” menu, navigate to the “Stream” tab and select the service you want to stream to (such as Twitch, YouTube, or Facebook).
- Enter Stream Key: Most platforms will require you to input a stream key, which is used to authenticate your connection with the streaming service. You can find the stream key in your platform’s streaming dashboard (e.g., Twitch’s Creator Dashboard or YouTube Studio).
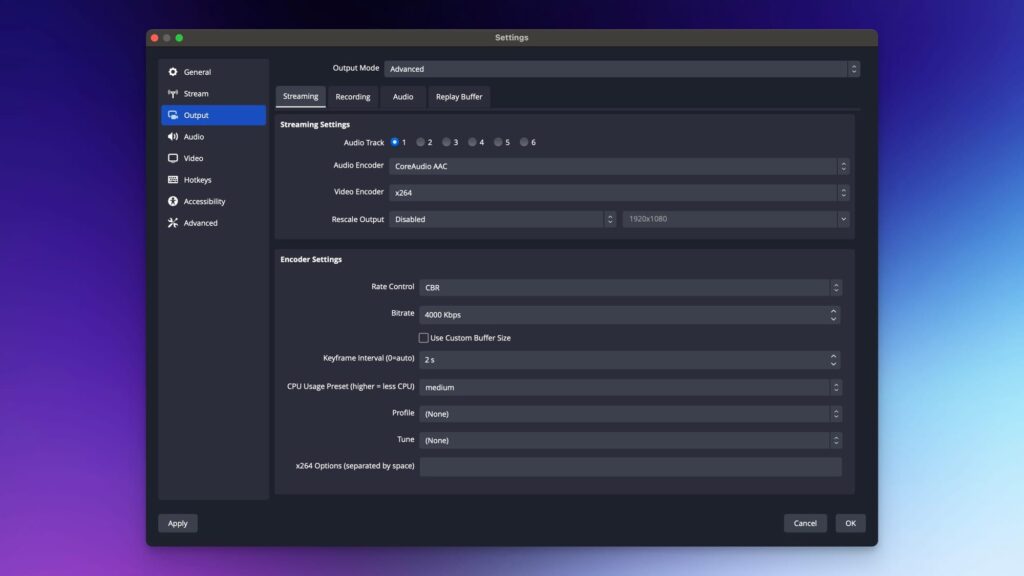
- Adjust Bitrate and Resolution: In the “Output” tab of the settings, adjust the bitrate and resolution settings to match your internet speed and desired video quality. Lower bitrates are good for slower internet speeds, while higher bitrates improve video quality but require a faster connection.
Start Streaming or Recording:
Once you’ve set up your video and audio sources, and configured your streaming settings, you’re ready to go live or start recording. Simply click the “Start Streaming” or “Start Recording” button to begin your session.
OBS Studio Advanced Settings and Tips:
Once you’re comfortable with the basics, there are several advanced features you can take advantage of to further customize your experience:
Custom Scenes and Transitions:
You can create multiple scenes and transitions for different parts of your stream. For example, a gaming stream might have a “Starting Soon” screen, followed by an “Intermission” screen, and then a “Gameplay” scene. Custom transitions, such as wipes or fades, can add a professional touch to scene changes.
Use Hotkeys for Efficient Control:
Hotkeys allow you to control OBS Studio without using your mouse, which can be particularly useful during live streaming. You can set hotkeys for actions like switching scenes, muting audio, or starting and stopping recordings.
Add Overlays and Alerts:
Plugins and external tools, like Streamlabs, can be used to add chat overlays, donation alerts, and other interactive elements to your stream. These features help keep your audience engaged and can be customized to suit your brand or style.
Stream to Multiple Platforms:
Using a service like Restream.io, you can stream to multiple platforms simultaneously. This is useful for reaching a wider audience, whether you’re streaming on YouTube, Twitch, Facebook, or other platforms at once.
OBS Studio for Recording Only:
If you don’t plan to stream but want to record high-quality videos for YouTube or other platforms, OBS Studio can handle that too. Customize settings like video resolution and bitrate to achieve the best recording quality possible.
FAQ’s
1. What is OBS Studio used for?
OBS Studio is used for video recording and live streaming. It allows users to capture high-quality video and stream it to platforms like Twitch, YouTube, and Facebook Live.
2. Is OBS Studio free to use?
Yes, OBS Studio is completely free and open-source software with no hidden fees or subscriptions.
3. How do I set up OBS Studio for streaming?
To set up OBS Studio, install it, add video/audio sources, select a streaming platform, and enter your stream key in the settings.
4. Can OBS Studio record my screen?
Yes, OBS Studio can record your screen, individual windows, or applications.
5. Does OBS Studio have transitions and filters?
Yes, OBS allows custom transitions and filters for a professional look.
Conclusion
OBS Studio is a powerful, free tool for recording and streaming. It’s easy to use, highly customizable, and supports high-quality video capture. Download it today to start creating professional-quality streams or videos, whether you’re a beginner or an experienced content creator. OBS Studio offers endless possibilities for streamers and content creators of all levels.
Related Posts
Also Read: Why Didnt Visual Languages Replace All Software Devlopment – An In-Depth Analysis!
Also Read: FTDI Software Drivers Downloads – An Expert’s Guide!
Also Read: How To Fix Unable Software Update – A Thorough Exploration!
